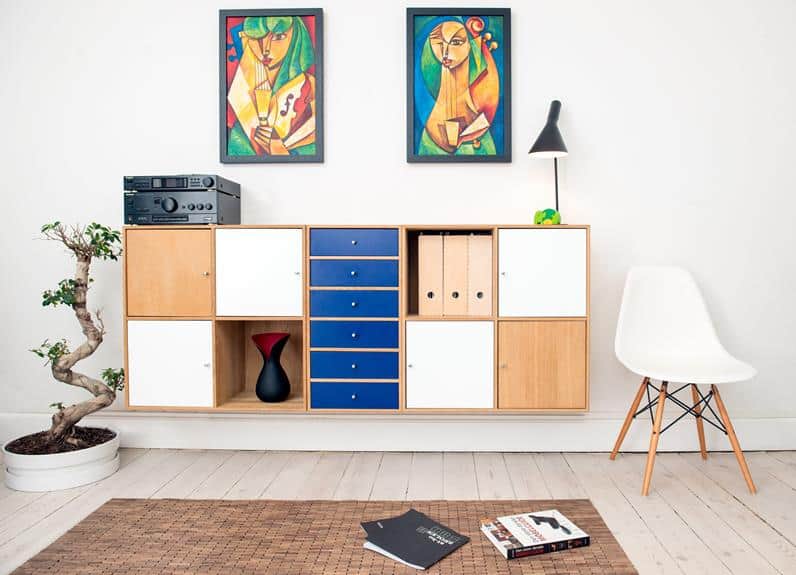
To paint an Ikea dresser, you need to first gather materials such as sandpaper, primer, paint, and a top coat.
Before starting, disassemble the dresser and remove all hardware for better sanding and painting.
Choose a primer and paint that will stick to the dresser's material.
Use proper painting methods and allow enough drying time for a smooth finish.
Once painted and dry, reassemble the dresser and add hardware for a new look.
Gather Your Materials
Before starting to paint your Ikea dresser, make sure you have the following materials:
- one quart of paint with an eggshell finish
- one quart of clear top coat
- 120-grit sandpaper
- a microfiber roller and paint tray
- a shellac-based BIN primer
- quality paint brushes for hard-to-reach areas.
Use 120-grit sandpaper to prepare the dresser's surface so the primer and paint can adhere properly. A microfiber roller is recommended for applying paint evenly, while quality brushes are necessary for tight spaces and corners.
Apply the shellac-based BIN primer for strong adhesion, followed by the eggshell finish paint for durability and a subtle sheen. Finish with a clear top coat to protect the dresser from scratches and stains.
Having all materials ready before you begin will make the painting process more efficient.
Disassemble Dresser
Begin by gathering the necessary tools, then start disassembling the Ikea dresser. Remove the drawers, placing them separately in a safe area. Unscrew and set aside any knobs or pulls from the drawer fronts. Keep all removed hardware together to prevent loss.
Check for and remove other hardware like drawer slides or latches that might obstruct painting. This step helps access all parts of the dresser, making it easier to paint edges and corners.
When preparing to paint, place the drawer fronts facing up to ensure an even coat and avoid drips. Disassembly not only prepares the dresser for painting but also aids in a more efficient and effective painting process, leading to a better-finished product.
Sanding the Surface
Lightly sand the surface of the dresser with 120 grit sandpaper to create a texture that helps paint adhere better. Aim to scuff the surface rather than remove the finish completely. Use gentle strokes and avoid pressing too hard or using an electric sander to prevent surface damage. Focus on edges and corners. The sanding should take about 5-10 minutes.
Once sanded, remove all dust for a clean surface. Wipe down the dresser with a tack cloth or damp rag to eliminate sanding residue. This will allow the paint to apply smoothly.
While chalk paint may not require sanding, it's recommended for most other paints to ensure durability and a professional look. With the surface prepared, you can proceed to the next step of your refinishing project.
Apply Primer
After sanding your Ikea dresser, apply a coat of Zinsser Bullseye primer for better paint adhesion and durability. A primer coat seals the surface and provides a consistent base for the paint. This step is essential for a professional finish and to ensure the longevity of your work.
Zinsser Bullseye primer is known for its adherence and helps prevent paint from peeling and stains from showing through. For application, use a quality brush or roller suitable for latex-based products. Apply a thin and even layer, making sure to cover all areas and avoid pooling in corners. After the primer dries as per the manufacturer's instructions, lightly sand it with fine-grit sandpaper for a smoother base.
Proper primer application is crucial for the final paint job's appearance and durability. Skipping this step may affect the outcome, so priming your dresser is recommended for a lasting finish.
Choose the Right Paint
Choose the correct paint for your Ikea dresser based on the material and desired finish to ensure durability and visual appeal.
Chalk paint is ideal for a vintage or shabby chic look due to its easy application and ability to be distressed for an antique effect.
For a modern look, consider latex or acrylic paints, which come in various finishes like satin for a durable, easy-to-clean surface, or matte for a non-reflective appearance.
Spray paint is suitable for a quick, even application, though multiple light coats are recommended for a professional finish.
To enhance the durability of your dresser, apply a clear top coat to protect against scratches and wear.
Use disposable brushes for an even application of the top coat, ensuring a long-lasting, refreshed look for your furniture.
Painting Techniques
Effective painting of an Ikea dresser requires careful preparation and application.
Begin by cleaning and sanding the surface. Apply a high-quality primer, such as Zinsser Bullseye, to create a base for the paint. Use a foam roller for large areas to reduce brush marks and a brush for corners, feathering out the edges.
After the primer dries, apply the first paint coat with a brush for details and a microfiber roller for flat areas to prevent streaks. Follow the manufacturer's drying time before adding a second coat, which ensures complete coverage and a richer color. Use consistent strokes to maintain evenness. Apply a third coat if necessary for saturation or coverage, allowing each layer to dry thoroughly.
Finish with a top coat for durability, using disposable brushes, and let the dresser dry overnight. This protects against scratches and extends the furniture's appearance.
Reassemble and Add Hardware
After painting, reassemble the Ikea dresser frame and insert the drawers without knobs to prepare for hardware installation. Ensure proper alignment and functionality before adding final touches.
Begin by following the Ikea manual to reassemble the frame, making sure the paint is dry to prevent damage. Slide in the drawers, omitting knobs until later.
Select new hardware to complement the dresser's updated look, considering budget-friendly choices from retailers like Amazon. For a unique finish, apply gold rub n buff to existing hardware for an antique effect.
For a distinctive design, consider adding oak edge banding to the drawer fronts for contrast. Cut and adhere the banding to match the dresser's color scheme.
Complete these steps to finish the Ikea dresser with new hardware.


