To fill a gap between a countertop and a wall, start by measuring the gap's size.
Clean the area and, if needed, sand it for better adhesion.
Choose a suitable filler, like caulk or silicone.
Apply the filler carefully and finish by smoothing it out or painting if necessary.
This ensures a neat and effective result.
Assessing the Gap Size
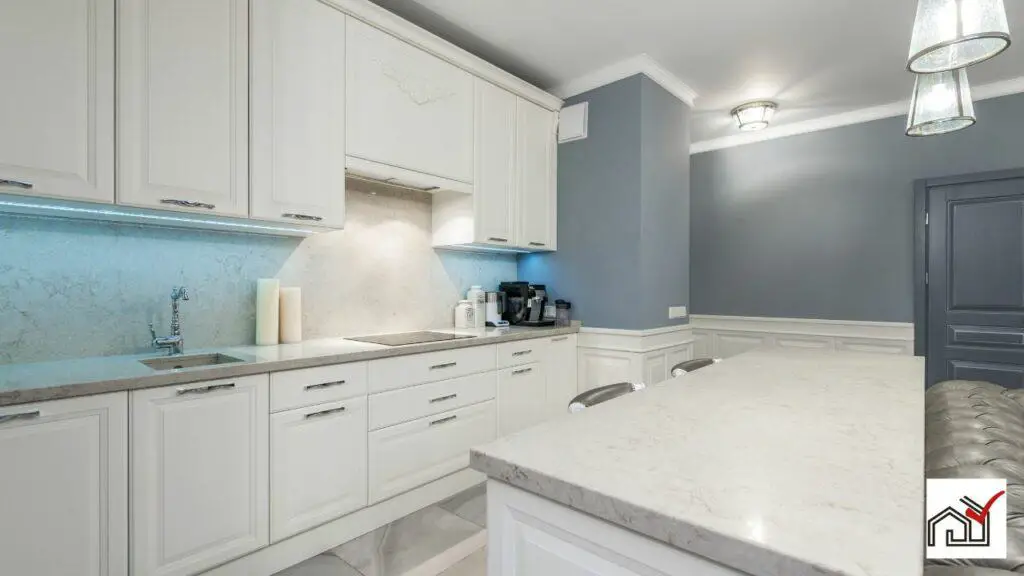
Measuring the gap between a countertop and wall is essential for choosing the right sealing method. Accurate measurement determines the materials and techniques for a clean and long-lasting seal.
For gaps wider than 3/8 inch, trim is an effective solution as it covers the space without significant changes. If a seamless appearance is preferred, the countertop may need to be repositioned. This involves loosening cabinet screws and moving the countertop to shrink the gap to 1/4 inch or less, then sealing it.
Proper caulking preparation is important for a neat finish. Applying painter's tape along the gap edges helps confine the caulk. For non-square walls, a stone or tile backsplash might be better. A backer rod can be used before caulking to support the sealant for larger gaps.
Cutting trim at matching angles can address the gap with minimal countertop adjustment. The chosen method should ensure both visual appeal and durability.
Preparing the Area
Prepare the area by removing any items and cleaning the surface before sealing the gap between the countertop and wall. Assess the gap size to decide if caulking or trim is needed.
For caulking, apply painter's tape to both the countertop and wall edges to create clean lines.
For larger gaps requiring trim, measure accurately and prepare the needed tools.
If the countertop is not aligned with the wall, you may need to adjust the cabinets. Unscrew the cabinets from the wall using a drill with a No. 2 Phillips bit. Pry the cabinet gently with a flat bar to move the countertop closer to the wall. Use wood shims under the cabinet if lifting is necessary, ensuring the countertop is level.
After reattaching the cabinets, check that the gap is closed and remove any temporary aids.
The area is now ready for sealing the gap.
Choosing the Right Material
Selecting the right material is essential for effectively filling the gap between the countertop and wall. For granite countertops, epoxy can be a good choice as it is durable and can match the stone's color and pattern. Small gaps of 1/4 inch or less can be filled with silicone-based caulk, which offers flexibility and a watertight seal. The caulk comes in various colors to match the decor.
For larger or irregular gaps, using trim or molding may be more appropriate. A 1×2 or corner molding can be painted or stained to match the area and provides a finished appearance. This approach can also hide uneven angles.
Before applying epoxy, ensure the countertop surface is clean and dry for strong adhesion and a lasting finish. Choose a material that fits the gap size and complements the kitchen's aesthetics for a professional result.
Applying the Filler
Before applying filler to the gap between your countertop and wall, ensure the surface is clean and dry for the best adhesion. Remove any debris and moisture to prevent poor bonding and future problems.
For gaps up to 1/4 inch, caulk is suitable. For wider gaps, insert a backer rod before caulking. Protect the adjacent surfaces with painters tape, then apply caulk with a caulking gun and smooth it with a wet finger. Remove the tape before the caulk dries.
For larger gaps, use quarter-round or cove molding. Cut the trim at a slight angle, apply adhesive to the back, and press it into the gap, cleaning up any extra adhesive.
For significant or irregular gaps, use foam filler or bondo. Apply the filler, then smooth and level it before it hardens. Optionally, cover with epoxy or a stone backsplash for a sealed and concealed finish.
Ensure the gap is completely filled and the surface is clean for a polished look that enhances your kitchen's appearance.
Finishing Touches
Smooth the gap between the countertop and wall after filling it to ensure a professional appearance. If using caulk, epoxy, or another filler, consider the visual and protective aspects of the repair. Installing trim, such as quarter-round or cove molding, can conceal any imperfections and add elegance. Make sure the trim fits well and is cut to the correct angle, especially if the wall and countertop do not meet at a perfect 90-degree angle.
If painting or staining the trim, choose a color that matches the cabinetry or walls for consistency. Attaching the trim closer to the wall increases its stability and longevity. For smaller gaps, a bead of caulk may be adequate. Choose a caulk color that coordinates with the countertop and wall to integrate the repair discreetly. After applying, remove any excess material to create a watertight seal that prevents moisture and debris from gathering.
Proper application and attention to detail can enhance both the look and functionality of the kitchen.