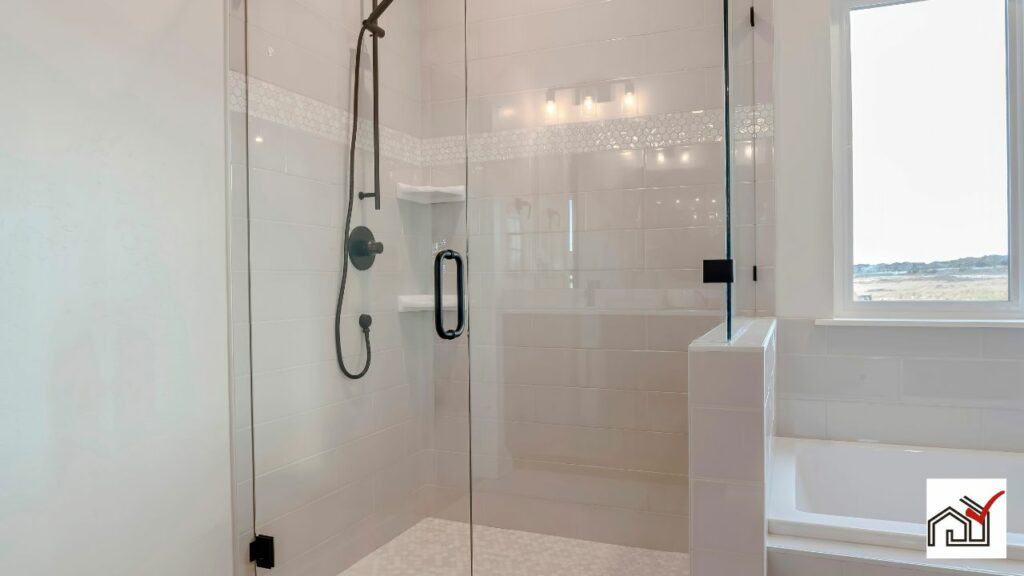
If there is a gap between the shower door frame and wall, it is important to fix it to prevent water leakage and damage.
Measure the gap size to choose the right solution.
Use silicone sealant for small gaps, creating a waterproof seal.
For bigger gaps, install a shower door strip or gasket.
Clean and dry the area before applying any fix.
Have tools and materials ready for a smooth application.
If the gap is due to a faulty installation, adjust the frame carefully to avoid damaging it.
Follow the instructions carefully and perform regular maintenance for a lasting repair.
Assess the Gap Size
To measure the gap size between a glass shower door and the adjacent wall, use a reliable tape measure or caliper. The standard gap size is approximately 3/16 inch. This size allows for material expansion and contraction, as well as proper door operation and water deflection.
A tolerance of 1/16 inch is typical for tempered glass installations ranging from 3/8 to 1/2 inch thick. While slight variations can occur, the gap should not significantly differ from the 3/16 inch standard.
If the gap is larger than standard, adjustments may be needed to prevent water leakage. If it is smaller, it could indicate an issue with the installation that might affect door functionality or cause glass stress.
Consulting with others who have experienced similar issues can offer insights into whether the gap size is acceptable. Accurate measurement is essential to address any concerns with the gap size.
Choose the Right Sealant
Choose the correct silicone sealant to effectively seal the gap between your shower door frame and the wall. A white silicone sealant usually works well for most showers, providing a waterproof barrier while blending with the shower design.
The sealant should be durable and adhere strongly to resist bathroom humidity and temperature changes. Clean and dry the area before applying the sealant for the best adhesion. Adjust the shower door frame carefully to avoid damage.
To reinforce the door, tighten the frame's wall bracket. Then, apply a clear silicone bead on the frame's outside to seal any gaps and prevent water leakage.
Consult a professional for advice on the best sealant for your shower materials and for application tips. Proper selection and application of the sealant will help maintain your shower's integrity.
Gather Necessary Tools
Before starting the task of sealing the gap between your shower door frame and the wall, it's important to have the right tools ready. These include a caulking gun, silicone sealant, painter's tape, and a utility knife. The caulking gun aids in the even application of the sealant, and the silicone sealant is suitable for bathrooms due to its water resistance and flexibility.
Use painter's tape to create straight edges around the gap to ensure a neat finish. This step is particularly important in Universal Design projects that focus on safety and accessibility. When installing a new shower door, especially in bathrooms designed for older adults, precision is crucial.
After the sealant has dried, a utility knife can be used to remove any excess, keeping the sealant level with the frame and wall. This contributes to the visual appeal and safety of the bathroom. Properly sealing the shower door is crucial not only to prevent water damage but also to maintain an accessible and safe bathroom environment.
Therefore, preparing the correct tools in advance is vital for both efficiency and quality, in line with Universal Design principles.
Prepare the Shower Area
To properly apply sealant to the shower area, start by cleaning the gap between the shower door frame and the wall. Use a cleaner that prevents mildew to remove soap scum, mold, or buildup. A small brush or old toothbrush can help you reach into tight spaces. After cleaning, wipe the gap with a damp cloth to eliminate any remaining cleaner.
Allow the gap to dry completely before applying sealant, as any moisture can hinder adhesion and potentially lead to leaks or mold growth. To hasten drying, use a dry cloth and then let air dry, or employ a hairdryer on a low setting.
Check the door frame for damage or misalignment. If necessary, adjust the frame to minimize the gap, which may involve loosening and tightening screws.
Once the area is clean, dry, and the frame is adjusted, you're ready to fill the gap. For optimal results, consider consulting a professional for advice on the best silicone sealant and application techniques. If you're adding a shower liner or trim, professional guidance can help achieve a polished appearance.
Apply the Sealant
After preparing the surface, apply silicone sealant to create a watertight seal between the shower door frame and wall. Silicone sealant is a flexible, waterproof adhesive that prevents water damage. Choose a high-quality silicone sealant suitable for bathrooms, resistant to moisture and temperature changes.
White silicone sealant is typically recommended for a clean look that matches most bathrooms. For a different look or if the frame and wall colors vary, use clear silicone sealant. Cut the sealant tube tip at a 45-degree angle for easier application.
Begin at one end, hold the tube at a consistent angle, and gently squeeze the caulking gun trigger to release a steady stream of sealant into the gap. Apply the sealant continuously to prevent air pockets and ensure an even layer.
Smooth the sealant with a caulking tool or a damp finger to ensure a tight seal and remove any excess with a damp cloth before it dries.
Allow the sealant to cure as per the manufacturer's instructions to form a strong, waterproof barrier.
Finishing Touches
After sealing, check for a clean finish with no gaps or excess. The sealant should be even around the shower doors, looking good and effectively blocking water.
White silicone is common for its neat appearance that matches most bathrooms. Remove any extra sealant with a damp cloth before it sets to achieve an even line.
Ensure any installed shower liner or trim is fixed firmly, contributing to the look and waterproofing of the enclosure.
Allow the sealant to dry, usually within 24 hours, but confirm with the manufacturer's instructions. After curing, inspect for any small openings or unattached edges that could let in water.
The aim is to create a leak-proof seal to protect against water damage, critical for the durability of your shower doors and the bathroom.
Maintenance Tips
Check the sealant around your shower door frame regularly to prevent water damage. Sealants may degrade over time due to moisture and temperature changes, which can increase the gap between the door frame and wall. Promptly repair any wear or separation.
Clean the area well before maintaining the sealant to ensure proper adhesion. After cleaning and drying, apply a new layer of silicone for a watertight seal, smoothing it to eliminate air bubbles.
If gaps remain after proper sealant application, examine the metal frame and brackets. Adjusting and tightening the brackets may correct any shifts in the frame, ensuring a tighter fit.
Use white silicone for both effective sealing and a clean look. Proper maintenance will extend the life of your shower door's seal and prevent water damage in your bathroom.


