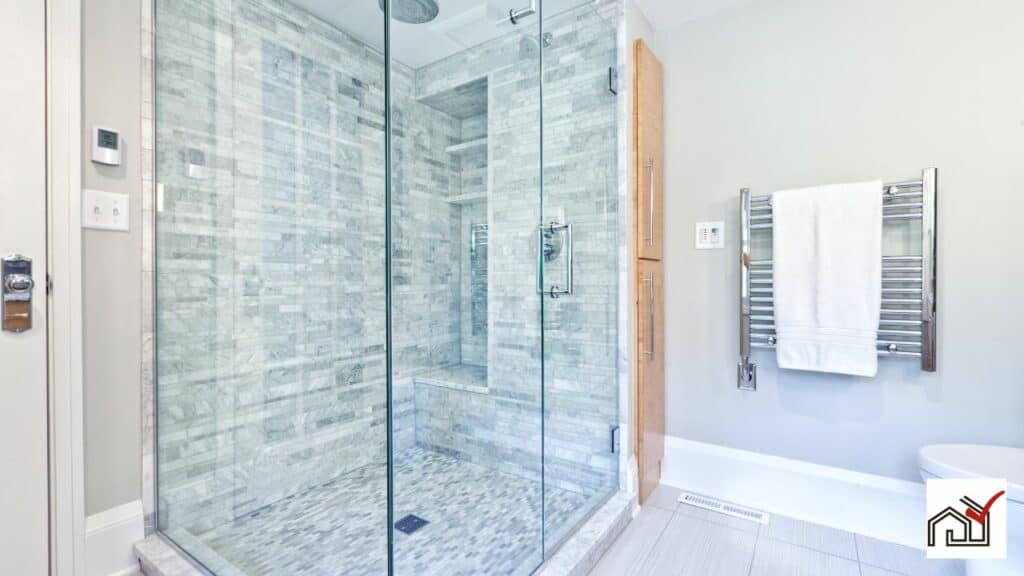
You should caulk around a shower base. Caulking is essential for waterproofing to prevent water damage, mold, and mildew. Use a high-quality silicone caulk that can handle temperature changes.
Proper surface preparation, careful application, and allowing the caulk to dry completely are important for a lasting seal.
Caulking is necessary for bathroom maintenance.
Importance of Caulking
Applying caulk correctly around a shower base is essential to prevent water damage. Without a proper seal, water can leak behind tiles and walls, risking mold growth and structural damage. It is critical to create a water-tight seal where the floor tiles meet the walls.
Silicone caulk is recommended because it remains flexible, adheres well, and can withstand slight movements and temperature changes without cracking. This is important at the points where the shower floor connects to vertical surfaces, as these are prone to movement.
Regular checks and maintenance of the caulk are needed to keep it in good condition. Over time, caulk may deteriorate or detach, so it should be inspected and reapplied as necessary. Prompt maintenance prevents water damage and maintains the shower's integrity.
High-quality silicone caulk is crucial for protecting a shower base.
Preventing Water Damage
Caulking around a shower base is essential to prevent water damage. Water penetration can lead to expensive repairs and compromise the structure of nearby materials. Silicone caulk is recommended because it forms a durable, water-resistant seal and is less likely to shrink or degrade over time.
It's important not to cover weep holes during caulking. These holes allow trapped water to drain and prevent mold and mildew growth.
Silicone caulk is preferable to grout for sealing a shower base because it remains flexible and doesn't crack as grout can, which could allow water to seep through.
Regular checks and maintenance of the caulking are crucial to ensure ongoing protection against water damage. Any signs of damage, such as cracks or peeling, need immediate attention to maintain the integrity of the seal.
Choosing the Right Caulk
Selecting the correct caulk for a shower base is important to create a durable, waterproof seal. For fiberglass shower bases, silicone caulking is preferable because it allows for material flexibility.
When fixing cracks in mortar seals, consider the type of shower base and whether there are weep wells. Do not use acetone on fiberglass pans as it can cause damage. To prevent leaks and protect the structure, apply silicone caulk where tiles meet the shower pan.
Use flexible silicone caulk for routine seal inspections around the shower base, especially in areas that often have standing water. A 100% silicone caulk, such as Laticrete Latasil, is recommended for its longevity and resistance to shrinkage, cracking, or peeling.
For caulk application, there are color-matched options to blend with the tile and grout. Siliconized caulk is also available, which is easier to apply and clean than pure silicone caulk. Choose silicone caulk for a strong and visually appealing finish that protects against moisture.
Preparing the Shower Base
Before applying sealant, clean and dry the shower base thoroughly to ensure the caulking adheres well. Remove all dirt, soap scum, and old sealant. Use a bathroom cleaner and acetone to clean, particularly on fiberglass bases, to eliminate any oils or residues.
Ensure the shower base and surrounding area are completely dry. Any moisture can reduce the effectiveness of the caulk, particularly in tile installations where water can be trapped in grout lines.
Check the entire perimeter of the shower base for gaps, holes, or uneven surfaces. Smooth out irregularities and remove loose grout to prepare a uniform surface for caulking. This preparation is necessary for a watertight seal and to maintain the shower's structural integrity.
After these steps, the shower base is ready for caulking to prevent water damage.
Application Techniques
To apply silicone caulk around a shower base effectively:
- Begin by removing any old caulk and cleaning the area to eliminate mold and soap residue. If necessary, scrape out old grout where the tile meets the base to make room for new caulk.
- Cut the caulk tube tip at a 45-degree angle to fit the joint size for a smoother application.
- Hold the caulk gun at an angle parallel to the joint and apply an even bead, ensuring it fills the gap without gaps.
- Smooth the bead with a damp finger or a tool for a neat finish. Remove excess caulk promptly.
- Allow the caulk to cure for at least 24 hours without disturbance.
Regular checks and reapplication when necessary will help maintain your shower's condition.
Drying and Curing Time
Silicone caulk requires a 24-hour drying and curing time after application around a shower base to form a waterproof seal. During this time, the caulk bonds to the surfaces of the ceramic tile and shower base, preventing water leakage and damage. It is important not to use the shower during the curing period, as water exposure can interfere with the process.
Before applying new caulk, any old caulk or grout must be removed to allow proper adhesion. Silicone caulk offers flexibility to accommodate structural movements, unlike more rigid grout, which can crack.
Maintaining a waterproof seal involves regular inspections and replacing caulk as needed. Unlike grout, which can be cleaned and repaired, caulk cannot be cleaned and must be completely replaced to protect against water damage. Following the curing time is essential for the seal's durability and effectiveness.
Maintenance Tips
Regularly maintain the silicone caulk around your shower base to prevent water damage. Check the caulk for wear like peeling, cracking, or discoloration, and replace it if necessary, typically once a year.
For tile showers, maintain the grout to prevent water seepage, which can lead to mold and tile damage. Replace any loose grout and apply a waterproofing agent every few years.
Clean the caulk and grout regularly with a gentle cleaner to prevent soap scum and mildew, avoiding harsh chemicals that can damage the sealant.
Proper maintenance keeps your shower in good condition, preventing expensive repairs.
Common Caulking Mistakes
Common caulking mistakes can lead to water damage in showers. These mistakes include uneven application and using the wrong sealant. When caulking a shower base, it's important to seal the entire perimeter, not just visible cracks. All old caulk should be removed and the area cleaned with an appropriate cleaner, like acetone for fiberglass, to ensure good adhesion.
The type of caulk is also important; bathrooms need a sealant that can handle moisture and temperature changes. Using the wrong type can result in a seal that fails quickly.
While proper waterproofing during initial construction might make additional caulking unnecessary, applying a new bead of caulk is a good precaution to prevent water damage. This can prolong the shower's lifespan and prevent costly repairs.


