To remove a glued-on shower head or arm, first identify the type of adhesive used to determine if solvents or heat are needed.
Gather necessary tools, such as an adjustable wrench and protective materials, to prevent damage to the fixture.
Apply solvent or heat as needed to soften the glue.
Carefully and steadily remove the fixture to avoid causing any harm.
After removal, clean the area thoroughly to prepare for the installation of a new fixture or further repairs.
Assessing the Situation
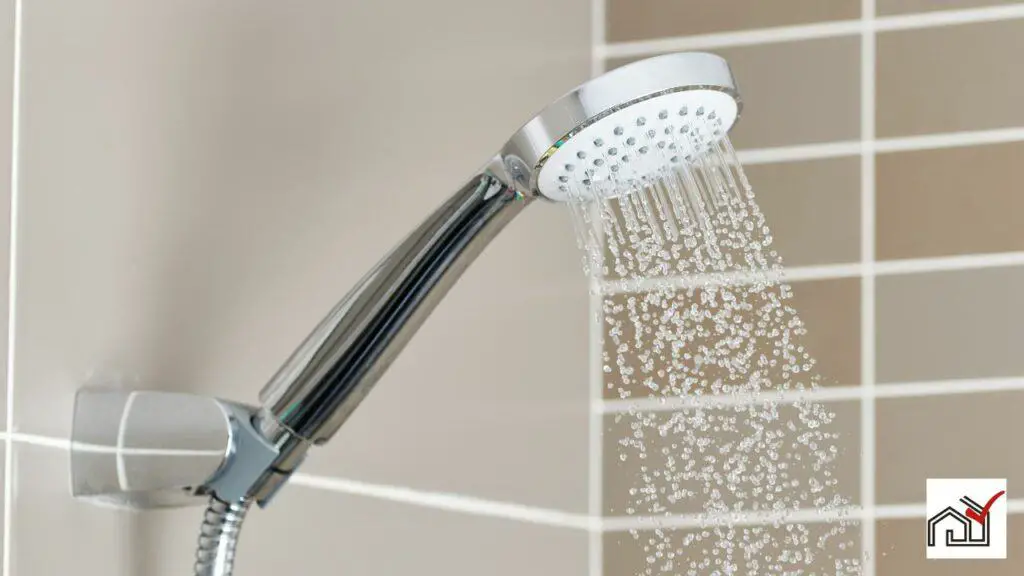
To assess a glued shower head, first inspect the fixture to determine the adhesive's strength and type. The removal method will depend on whether a strong adhesive like super glue was used.
Identify the glue type, then prepare for removal. If the glue does not need a solvent, soak the shower head in white vinegar to loosen the adhesive. Before starting, turn off the shower's water supply to prevent water damage or injury.
After soaking, use an adjustable wrench or pliers to twist the shower head off, turning clockwise. Protect the fixture's finish by wrapping the tool with a cloth. If the shower head is still fixed, it may need more soaking or a solvent like acetone. Remove the shower head carefully to avoid damage to the fixture or injury.
Gathering Necessary Tools
To remove a glued-on shower head or arm, you will need a few tools. First, gather an adjustable wrench and an old cloth.
To protect the shower arm from scratches, wrap the cloth around it. Then, using the adjustable wrench, turn the shower arm counterclockwise to try and loosen it.
If the shower head or arm is stuck, you can try applying a penetrating lubricant to the joint. Allow the lubricant to sit and soften the glue before attempting to remove the shower head or arm again.
In cases where the adhesive is particularly stubborn, you can try immersing the shower head in a mixture of hot water and lemon juice. Place it inside a sealed plastic bag that is secured with Teflon tape. After soaking, use pliers to help loosen the arm.
Once the shower head or arm is removed, you may find leftover plumber's tape or glue. To clean these remnants, use an old toothbrush and acetone nail polish remover.
Remember to take precautions and protect the bathtub or shower area from any spills that may occur during the removal process.
Applying Solvent or Heat
To remove a stuck shower head or arm, start by applying a natural solvent such as a mixture of lemon juice and hot water. Soak a cloth in the solution or fill a plastic bag with it and secure it around the fixture with a rubber band. Let it sit for several hours to break down glue and mineral deposits.
If this doesn't work, use a commercial rust remover or adhesive solvent according to the manufacturer's instructions. Apply it to the joint where the fixture meets the plumbing and wait the recommended time.
If solvents fail, use a hairdryer or heat gun on a low setting to gently heat and expand the metal, which may soften the adhesive. Move the heat source around the joint to evenly distribute heat and prevent damage. After heating, try twisting the fixture off. The heat, combined with the solvent, may help release any remaining rust and adhesive.
Careful Removal Techniques
To safely remove a glued-on shower head or arm without damaging the plumbing or fixture, follow these steps:
- Start by trying to unscrew it by hand to avoid putting undue stress on the pipes.
- If it doesn't move, soak it in a mix of lemon juice and hot water to soften the adhesive.
- Use an adjustable wrench with a cloth wrapped around its jaws to gently unscrew the shower head clockwise, as shower arm threads are often left-handed.
Avoid using excessive force to prevent breaking the pipes or damaging the shower arm.
- Once the shower head is loosened, clean any remaining glue from the threads with acetone nail polish remover and an old toothbrush to avoid scratching the surface.
- If the fixture is still fixed firmly, apply a homemade or commercial adhesive remover before trying to unscrew the shower head again.
Post-Removal Cleanup and Maintenance
After removing the shower head or arm, begin cleaning by removing any leftover adhesive and checking for mineral deposits. Rinse the shower head with hot water to remove loose debris. To dissolve stubborn adhesive, mix lemon juice with hot water and apply it to the residue. Scrub it off with an old toothbrush.
For mineral deposits, create a mixture of hot water and vinegar. Soak the shower head in this solution or place it in a plastic bag full of the mixture, ensuring full coverage of the affected areas. Leave it to soak for several hours to break down the deposits. Afterwards, use the toothbrush to scrub off any remaining buildup.
If necessary, use a wire brush for tough adhesive or deposits, but do so carefully to avoid scratching the shower head. After cleaning, rinse the shower head with clean water.
Before reattaching the shower head, wrap plumber's tape around the threads of the shower arm to ensure a tight seal and prevent leaks. Once done, the shower head is ready to be reinstalled, which should lead to better water flow and performance.


