To install recessed lighting in a basement, start by evaluating the lighting needs and planning the layout.
Gather necessary tools and materials such as fixtures, wiring, and mounting hardware.
Install a wiring infrastructure to power the fixtures, then mount the lights securely into the ceiling, complying with safety standards and building codes.
After installation, test the lights to ensure they work correctly.
Follow these steps for a professional installation.
Assessing Basement Lighting Needs
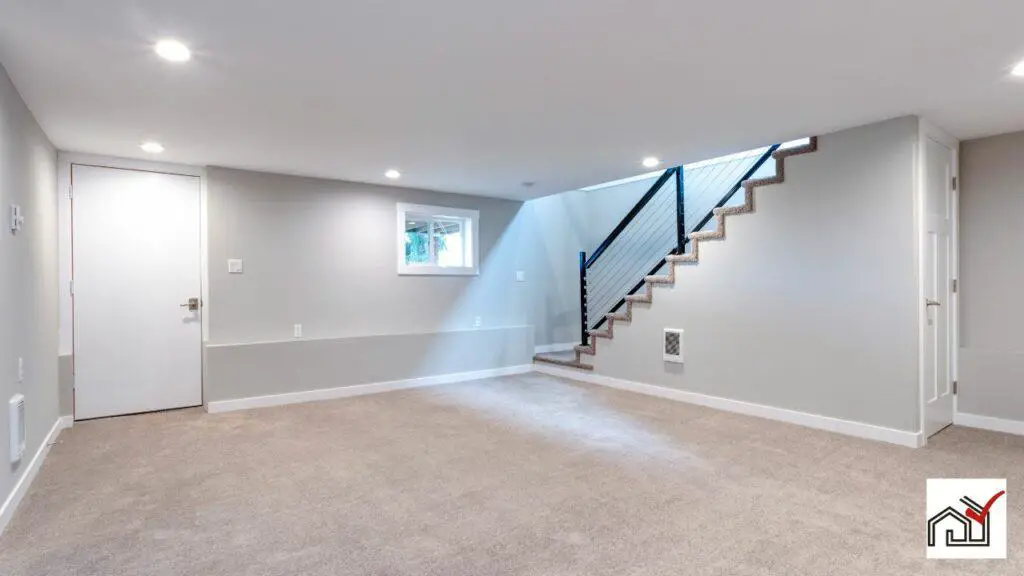
Before installing recessed lighting in a basement, conduct a detailed assessment of the space's lighting needs, taking into account its function and layout. The basement may serve various purposes, such as a storage area, living space, or workshop, and each requires a different lighting approach. Recessed lighting is unobtrusive and can improve the basement's look and functionality. It is important to consider the ceiling structure and joists when planning light fixture placement, as they may restrict installation options.
Discuss with the homeowner to identify specific task lighting needs, which will influence the recessed lights' layout. Areas for reading or detailed work need focused task lighting, while general lighting is suitable for overall ambiance. The location of power sources affects the feasibility of the lighting design and the need for new wiring.
If the basement is already finished, installing new lighting may be more complex and could involve removing parts of the ceiling to access wiring. Obtaining the necessary electrical permit is essential to ensure that the installation complies with local building codes and safety standards.
Additionally, consider if extra circuits are needed to handle the new lighting's electrical load. By carefully evaluating the basement's lighting requirements and any structural or regulatory limitations, a well-planned lighting strategy can be created for effective and safe illumination.
Planning Your Lighting Layout
To plan your basement lighting layout, start by determining the correct size and height for recessed lights, taking into account room size and ceiling height. Measure the ceiling and mark where each light will go, spacing them evenly for consistent lighting. Use a stud finder to avoid placing lights where they will interfere with framing members.
Install lights at right angles to joists to avoid cutting into structural elements. If joists conflict with your layout, adjust the light positions to maintain even lighting while avoiding shadows near walls or obstructions.
Before cutting the ceiling drywall, make small pilot holes at the marked positions to allow for adjustments. Once you're satisfied with the placements, cut the holes to the required size for the recessed light housings, ensuring clearance around any electrical boxes or ceiling infrastructure.
Proper planning of your lighting layout ensures a smooth installation process and results in a well-lit and inviting basement space.
Gathering Required Tools and Materials
Before installing recessed lighting in your basement, gather all necessary tools and materials. This includes selecting the correct housings; IC-rated housings are needed if insulation contact is possible to prevent fires, and airtight housings are recommended for energy efficiency in insulated ceilings.
You'll need a drill with a hole saw attachment, a screwdriver, wire strippers, and a drywall saw for the installation. Junction boxes are required for safe wire connections, and each light fixture needs an electrical box to connect the power source to the lights. Ensure compliance with local codes by obtaining an electrical permit before starting.
For safety, turn off the circuit breaker before handling live wires. Use fish tape for pulling wires, a voltage tester to check for inactive power, and cable clamps to secure wiring. Use the correct size of NM-B cable and familiarize yourself with wire cap color coding for a secure electrical connection.
When installing near insulation, use IC-rated fixtures to prevent overheating. Having all tools and materials ready will facilitate a smooth installation and help achieve a professional finish.
Installing the Wiring Infrastructure
To properly install recessed lighting in a basement, start by planning the light positions based on the space's layout and intended use. This will ensure the lighting is both effective and aesthetically pleasing.
Next, turn off the power at the circuit breaker before wiring. Run electrical wires from the light switch to the first light fixture and then between subsequent fixtures. Choose the correct NM cable size (14/2 or 12/2) based on your circuit's amperage.
When installing wires, avoid interference with plumbing, gas lines, and existing wiring. Drill holes through joists as needed and use insulated staples to secure the cables every 4 feet.
At the electrical panel, connect the ground wire to the ground bus bar as required by the National Electric Code.
Before drywall installation, obtain an electrical permit and pass a rough-in inspection to ensure compliance with safety codes. If uncertain about the process, consult a professional electrician.
Mounting Recessed Lighting Fixtures
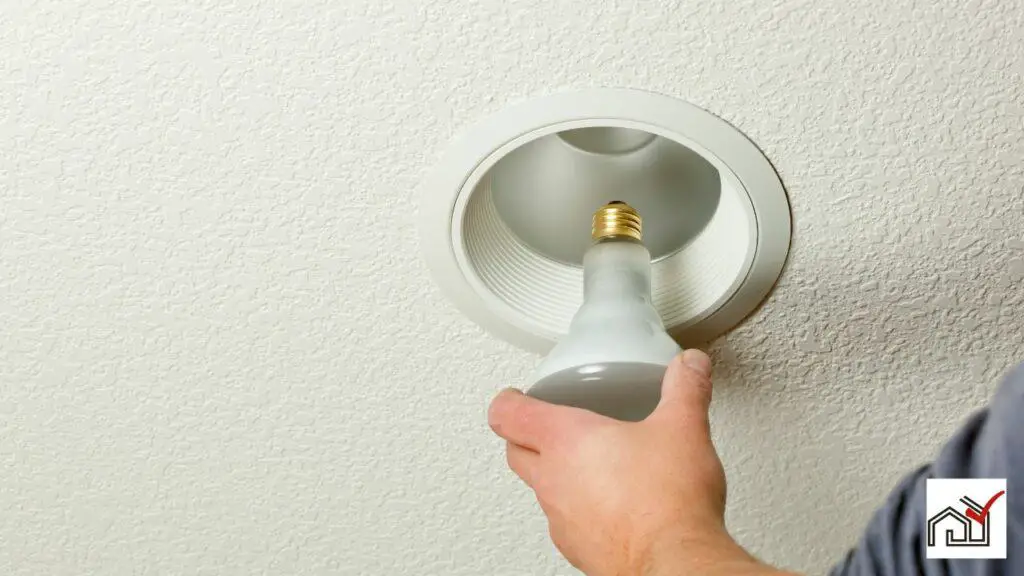
After wiring, the next step is to install recessed lighting fixtures into the basement ceiling. It is important to secure an electrical permit before starting to comply with local codes.
For installation, make sure the ceiling cutouts are slightly smaller than the light fixtures for a tight fit. If the basement is not finished, use pre-mounting plates or plywood as templates for support.
Choose the right housing, with metal boxes being a common choice for their grounding ability. For 'New Work' installations, light boxes typically have clamps or brackets for attaching to ceiling joists. Secure the housing with nails or screws, and then connect the wiring to the light box, ensuring all connections are tight.
Follow the manufacturer's instructions for proper alignment and fixture security. Proper installation ensures the lights function well, look good, and meet safety and electrical standards.
Finishing Touches and Testing
After installing recessed lighting, inspect to confirm they are securely attached and wired correctly. Ensure the lights are firmly in place to prevent movement and potential damage. Before working on electrical connections, turn off the power at the circuit breaker to avoid electric shock.
Disconnect the power, then connect the wiring from the power source to the switch box, and from there to each light fixture. Make sure to connect the hot and neutral wires to the correct terminals to avoid malfunctions and safety hazards. Secure the recessed light fixture with the provided clamps to the ceiling.
Once installation is complete, turn the power back on and test the lights by turning on the switch. If any problems are detected, reevaluate the connections or seek professional help.
Installing recessed lighting can improve a basement's ambiance, but safety and functionality are crucial. Adhere to safety protocols and consult a professional to meet electrical standards.