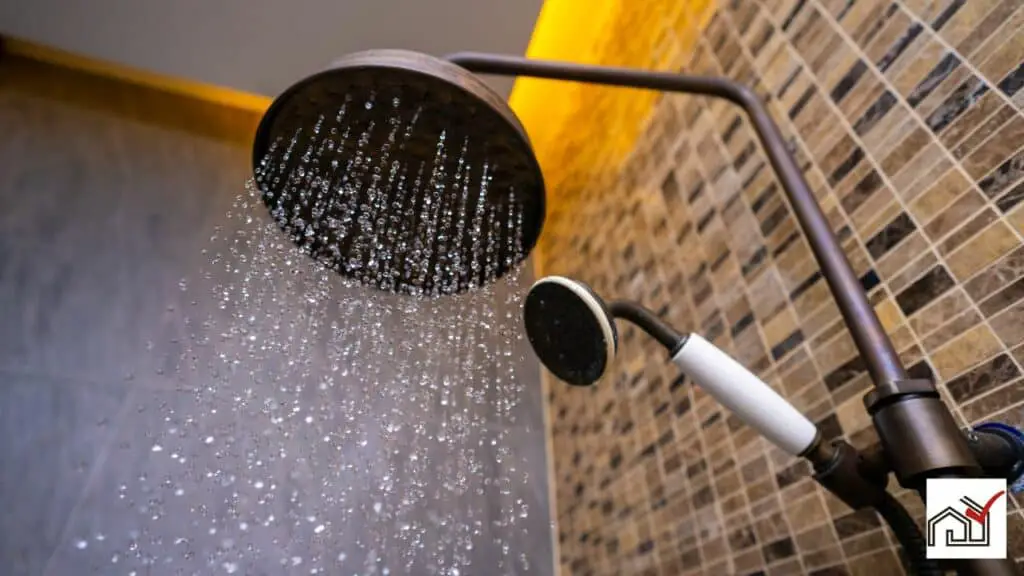
To install or replace a shower head in a bathtub, start by removing the old shower head.
Prepare the shower arm threads for the new head.
Attach the new shower head securely, using the right tools and materials to create a watertight seal.
This ensures proper function and durability.
Gather Your Tools and Materials
Before starting the installation or replacement of a bathtub shower head, collect all required tools and materials. These include slip-joint pliers, an adjustable wrench, and thread seal tape. These tools are crucial for a secure and leak-free installation, particularly with a fixed shower head.
Use the slip-joint pliers or a towel-wrapped adjustable wrench to turn the shower arm without scratching it. The adjustable wrench may also be needed to tighten connections and fix leaks that might occur during or after installation. Ensure the shower hose fits the new shower head and that it connects securely to the tub spout.
Clean the shower arm threads of any rust, mineral buildup, old tape, or sealant before installation. This ensures a clean surface for the new thread seal tape to stick to. Apply the thread seal tape clockwise around the threads to prevent leaks.
When selecting your materials, consider different brands and look for discounts to save money without sacrificing quality. Proper preparation will help ensure a smooth installation or replacement, resulting in a functional and attractive bathtub shower.
Remove the Old Shower Head
Begin by unscrewing the old shower head from the shower arm by turning it counterclockwise. If it's tight, use slip-joint pliers or an adjustable wrench with a towel to prevent scratching. Once loose, continue to turn the shower head until it comes off.
Check the shower arm's threads for rust, mineral buildup, or old sealant. Clean these off thoroughly to ensure a smooth installation for the new shower head or diverter.
Next, wrap thread seal tape clockwise around the clean threads to prevent leaks. Now the area is prepped and ready for the new shower head or diverter to be installed.
Clean and Prepare the Threads
Clean the shower arm threads thoroughly to remove any debris, rust, or old tape. A clean surface is essential for a successful installation of a new shower head, whether standard or hand-held. Start by using a small brush to clean off any rust or mineral deposits on the threads. Remove any old Teflon tape or sealant completely.
Next, wrap thread seal tape clockwise around the shower arm threads, pressing it into the threads for a secure seal to prevent leaks. After installing the new shower head, check for leaks by turning on the water. If there are leaks, add more thread seal tape and tighten the connections with an adjustable wrench.
For a diverter shower installation, also smooth any cut pipe edges with a file before applying plumbing tape, to ensure a proper installation and prevent future issues.
Install New Shower Head
Prepare the shower arm threads before installing the new shower head. Align the new shower head with the arm and screw it on by hand to avoid cross-threading and prevent leaks. Avoid using excessive force during this process.
Once the shower head is hand-tight, you may need to further secure it with slip-joint pliers or a wrench. Protect the shower head's finish by wrapping a towel around it before using any tools. When installing in a bathtub, position the shower head to optimize the shower experience and prevent water from splashing out.
For hand-held shower heads, attach the flexible hose to the shower mount and then to the shower head. After installation, check for leaks. If there are leaks, apply thread seal tape and re-tighten the components.
For a combo fixed and hand-held shower head, install the diverter on the shower arm as per manufacturer's instructions. Attach the fixed shower head to the diverter and the hand-held shower head to its mount. This setup allows for flexible use, especially in bathtub showers.
Ensure that each step is performed carefully to achieve a secure and leak-free installation of the shower head.
Ensure a Leak-Free Connection
To ensure a leak-free connection when installing a shower head, wrap thread seal tape clockwise around the shower arm's threads. This tape helps prevent water from leaking through the joint.
After attaching the shower head, turn on the water to check for leaks. If water escapes, carefully tighten the connection with an adjustable wrench, avoiding over-tightening.
For shower systems with both fixed and hand-held heads, test for leaks by switching the water flow between the two. Reapply thread seal tape and tighten as needed if leaks persist.
Always use thread seal tape when installing or replacing shower components, such as diverters, to maintain a watertight seal.
Following these steps will ensure a properly installed shower head without leaks.
Test Your New Shower Head
After installing the shower head and using thread seal tape to secure the connections, turn on the water to check the fixture for leaks and ensure it operates correctly. Start with a low water flow to avoid dislodging connections. Inspect the connection points for drips or moisture that suggest a leak.
If there is a leak, turn off the water and tighten the connections with an adjustable wrench, being careful not to over-tighten to avoid damaging the threads or shower head. Reapply thread seal tape if needed for a watertight seal. After making adjustments, turn the water on again to test.
For installations with a flexible hose and hand-held shower, check both hose ends for leaks and ensure smooth water flow. With combined fixed and hand-held shower heads, test the diverter by switching the water flow to confirm there are no leaks.
A thorough test of your new shower head after installation ensures it is leak-free and functional for daily use.


