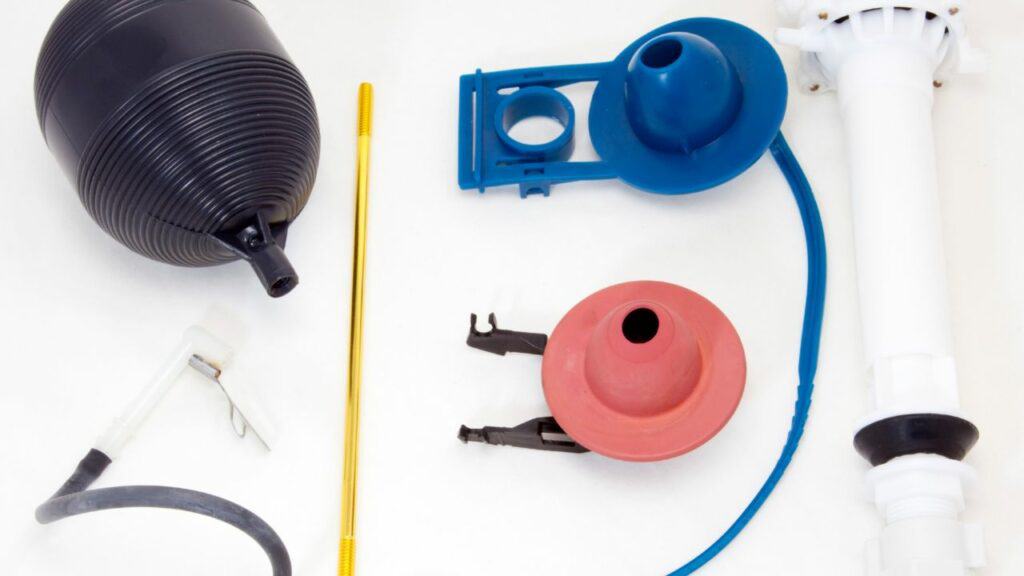
To fix a cracked toilet tank, bowl, or base, promptly assess the damage. Prepare the area and choose a suitable adhesive or sealant for porcelain or ceramic. Apply the repair material carefully for a watertight seal.
Monitor the repair afterwards to ensure it holds.
Follow these steps for effective toilet repair.
Identifying the Crack
To identify the crack in a toilet, start by thoroughly examining the bowl, tank, and base. It's important to check both the interior and exterior surfaces for hairline cracks, which may not be immediately visible. Once a crack is found, determine if it is above or below the water level, as this affects the urgency and repair method.
Water on the floor near the toilet could indicate a leak from a crack in the bowl, particularly noticeable after flushing. Cracks above the water level are less urgent but should still be monitored for growth. Document the crack with a photograph for future reference.
Accurate crack identification is essential before repair or replacement. Cracks inside the bowl often require replacing the toilet, while external cracks may be repairable. After finding a crack, take prompt action to ensure bathroom cleanliness and prevent further damage.
Assessing the Damage
When you find a crack in your toilet, evaluate the damage to decide what repairs are needed. Look at where the crack is and how big it is. Cracks above the water level are less urgent but can grow and cause problems later.
Inspect for water on the floor, which could mean a leak. Determine if the water is from condensation or a leak, as leaks can damage the floor and lead to rot or mold.
Check the seals between the toilet tank and bowl for leaks. Also, check for cracks inside and outside the tank. Cracks under the water line are serious and may require extensive repairs or replacing the toilet.
Gathering Necessary Tools
To repair a cracked toilet, you need to gather several tools.
- A screwdriver set is needed to remove components like the toilet tank.
- An adjustable wrench will be used to adjust nuts and bolts.
- A hammer might be necessary for minor adjustments or removing fixtures.
A tape measure is important to ensure replacement parts will fit.
A flashlight will help you see in dark areas.
Epoxy sealer is essential for repairing the crack; make sure it is suitable for use on porcelain.
Consult professionals for recommendations on the best epoxy sealer for toilet repairs.
Handle the toilet tank carefully to avoid further damage.
With the correct tools, you can begin fixing the toilet.
Preparing the Repair Area
Before repairing a crack, clean and dry the surface for good adhesion. Start by turning off the toilet's water supply at the shutoff valve. Then flush the toilet to empty the tank and bowl. If water remains, use a sponge and bucket to remove it, ensuring the cracked area is dry.
Dry the area with a cloth and clean it to remove any dirt or residue. If needed, use a mild detergent and rinse thoroughly. Sand the area around the crack to roughen it for better grip of the repair material, taking care not to worsen the crack or damage the porcelain.
These steps prepare the area for a successful toilet repair.
Selecting the Right Adhesive
Selecting the correct adhesive is essential for effectively repairing cracks in porcelain toilets. The success of the repair depends on using a quality adhesive that is appropriate for the material. For hairline cracks, it is important to use a waterproof epoxy that is specifically designed for porcelain fixtures to ensure a durable bond.
For cracks near the base of the toilet, especially around bolts, choose an adhesive that can handle stress and is moisture-resistant to prevent further damage.
Repairs below the waterline may not be permanent, and replacement of the toilet may be necessary if the epoxy does not provide a reliable seal.
Applying the Repair Material
To repair a crack using epoxy, first clean the crack thoroughly to ensure the epoxy adheres well. Remove any debris or moisture, as these can weaken the repair. Turn off the water supply to the toilet and flush to empty the tank and bowl. Dry the area with a towel or cloth and let it air-dry completely. Use a mild detergent or cleaner that doesn't leave behind residue.
After preparing the crack, mix the epoxy according to the instructions, combining resin and hardener. Apply the epoxy into the crack with a putty knife, filling it completely to create a watertight seal. Smooth out the epoxy for a better appearance.
For cracks below the water line, apply the epoxy quickly to prevent water from re-entering. Allow the epoxy to cure fully before using the toilet again, following the curing time specified by the product instructions.
Epoxy is a temporary solution for small cracks. If the toilet has large or multiple cracks, consider replacing it for a more reliable fix.
Finishing the Repair
After applying epoxy to the cracked toilet and allowing it to cure, the next step is to assess the repair. This involves comparing the repaired area to an earlier photograph to check for proper sealing and appearance.
Once the epoxy is dry, typically after 24 hours, refill the water tank and watch for leaks. If leaks are present, it may indicate incomplete coverage or improper bonding of the epoxy.
If no leaks are detected during the water test, the repair is complete. However, consider the repair's durability and the toilet's overall condition. For significant cracks or uncertain repairs, seek advice from a licensed master plumber for a thorough evaluation and possible replacement recommendations.
If the repair is stable with no leaks, include regular inspections in your plumbing maintenance to detect any new issues early on. Promptly addressing small repairs can prevent greater damage. If the repair is beyond your capability, contact a licensed master plumber for professional help.
Testing and Monitoring
After repairing a cracked toilet, it is important to perform a water test and continue to monitor for additional cracks or leaks. Test immediately by filling the tank and flushing several times, checking for leaks at the repair site. If there is water on the tank or bowl exterior, or any dripping, the repair may not be successful and additional measures may be necessary.
Regular inspection of the tank's interior is important to identify any small, hidden cracks that could cause problems over time. Check for moisture or a decrease in water levels to detect potential leaks.
To aid in monitoring, take a photo of the repaired crack to use as a comparison for future inspections. If the crack enlarges or a new one appears, act quickly to prevent more damage.
Consistent testing and monitoring of the toilet's tank, bowl, and base helps maintain repair integrity and extends the toilet's lifespan. Regular checks can identify issues early and avoid significant repair costs.


