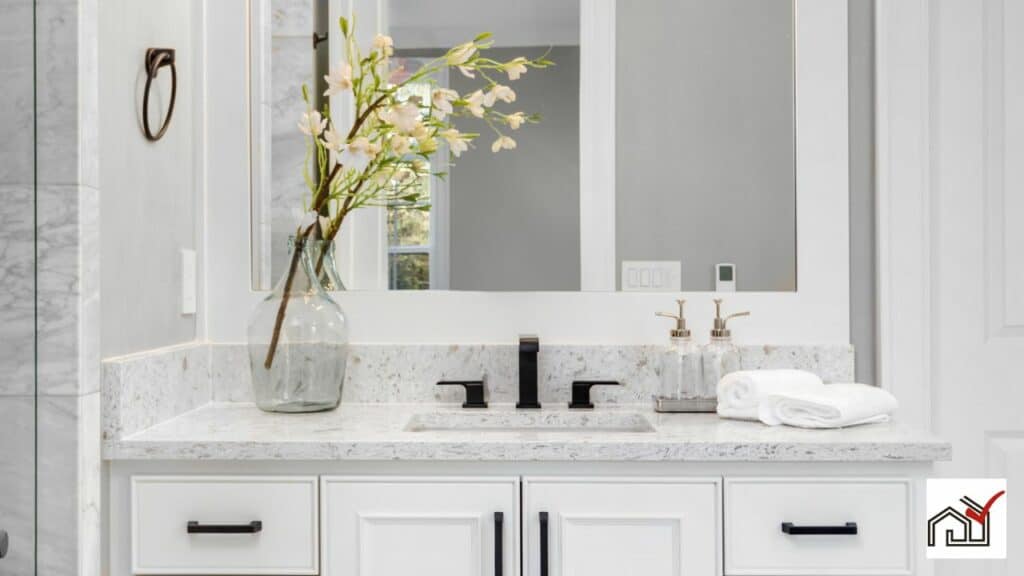
To fill a gap between a vanity top and wall, measure the gap first to decide how to fix it.
For small gaps, use caulk to create a waterproof barrier.
A backsplash can cover larger gaps and add style.
Other options include backer rods, sealant tape, or custom filler strips for a snug fit.
Choose materials that withstand the bathroom's humidity.
Proper installation will give a clean look and help maintain the bathroom's cleanliness.
Assessing the Gap Size
Measure the gap between the vanity top and wall to choose the right filling method. The gap size determines the materials and methods needed for a seamless look. Consider both width and depth for the best approach.
For gaps under a quarter-inch, caulking can fill the space and create a clean edge. Gaps up to half an inch may need a backer rod before sealing for added durability and a smooth finish.
For larger gaps, between a quarter-inch and half to one inch, vanity filler strips are suitable. They can be trimmed and finished to match the vanity for a cohesive look.
To cover gaps up to half an inch or slightly wider, a thick backsplash can be effective and aesthetically pleasing. If the gap is next to a wall, extending the backsplash or full wall tiling can enhance the appearance. For seamless integration, tile in a pattern that matches the room's design.
Choosing the Right Caulk
Choosing the correct caulk is essential for a watertight seal and a neat finish between your vanity top and wall. Silicone caulk is a preferred choice because it's durable, flexible, and works well on different surfaces, especially in moist areas like bathrooms.
Silicone caulk comes in clear options for a discreet look, allowing the vanity and tile work to stand out. It is also available in various colors to match your bathroom's decor.
Alternatively, bathroom sealant tapes are available for quick application without needing a caulking gun. However, they may not be as long-lasting or sturdy as traditional caulk.
It's crucial to select a high-quality, waterproof sealant suitable for the materials, gap size, and conditions of your bathroom to achieve a lasting and attractive seal.
Applying Sealant Tape
Applying sealant tape is an effective method to create a water-resistant seal between a vanity top and a wall. The tape is waterproof and durable, suitable for damp areas. To apply the tape correctly, first ensure the surface is clean and free from dust, debris, or old caulk. The surface should also be dry for the tape's adhesive to bond well.
Next, align the tape with the gap and press it down firmly, smoothing out any air pockets for a secure seal. The adhesive must dry fully before the area is used or exposed to water; drying times vary by product, so check the manufacturer's instructions.
Over time, sealant tape may deteriorate and should be checked and replaced as needed to keep the barrier effective. Sealant tape is a quick solution for sealing gaps and preventing water damage, while also improving the look of the area.
Installing Backer Rods
To install a backer rod between a vanity top and a wall, follow these steps:
- Choose a backer rod with the correct diameter to fit the gap tightly. Backer rods are suitable for gaps up to half an inch, serving as a foundation for sealant.
- First, measure the gap. Select a backer rod slightly larger than the gap for a tight fit.
- Cut the backer rod to the appropriate length.
- Press the backer rod into the gap, making sure it is flush with the vanity top. The rod should be deep enough to accommodate a layer of sealant.
- After the backer rod is in place, cover it with a waterproof sealant.
- Apply the sealant evenly, ensuring it fills any voids and covers the backer rod completely. This will seal the gap and provide a neat appearance.
Adding Filler Strips
Installing a vanity filler strip is an effective solution for gaps wider than a quarter-inch but less than half to one inch between a vanity and a wall. These strips create a seamless and professional look.
Before installation, clean the wall and vanity surface to remove grease and dust. This ensures the adhesive bonds well. Allow the surfaces to dry completely.
To apply the filler strip, peel back part of the adhesive and align it with the vanity and wall. Slowly remove the remaining backing and press the strip firmly into place to secure it.
Filler strips seal gaps and enhance the bathroom's appearance by making the vanity appear custom-fit to the wall.
Selecting a Backsplash
After filling larger gaps with filler strips, homeowners should choose a backsplash that covers any remaining gaps and complements the bathroom's design. The backsplash must be functional, protecting the wall from water and stains, and decorative, enhancing the room's appearance.
Material choices include ceramic, porcelain, glass, stone, or metal, each providing different textures, colors, and patterns. It's important to select a backsplash that is durable, easy to clean, and proportionate to the space.
The backsplash should be wide enough to span the gap and create a seamless link between vanity and wall. Accurate measurement of the gap is essential for a proper fit. Installation requires wall preparation to ensure the adhesive or mortar creates a strong bond.
Maintenance and ease of installation are also important considerations. Some materials might need more frequent sealing or specific cleaners. A well-chosen backsplash effectively covers gaps and enhances the bathroom's aesthetics.
Tiling the Adjacent Wall
When choosing tiles for the wall next to a backsplash, homeowners must consider the tile type, color, and placement to match the existing decor. Applying tiles to this wall fills the space between the vanity top and wall and adds to the bathroom's design. It's important to select tiles that resist moisture, are easy to clean, and complement the bathroom fixtures. One must also decide whether to tile part of the wall or from the floor to the ceiling to either create a visual feature or achieve a uniform look.
Using the right tiling methods is important for a secure and visually appealing result. This includes using the correct adhesives and grout to ensure the tiles stay in place and last a long time. The tiles must be aligned and spaced accurately to prevent unevenness.
Incorporating Storage Solutions
Homeowners often do not consider storage options when dealing with the space between a vanity top and wall. Adding storage solutions can make this space more efficient and help organize the bathroom. Custom shelves or cabinets that match the gap size can provide more storage for bathroom items. Slim pull-out units are also a practical option for narrow spaces, offering convenient storage for small items.
Additionally, vanity filler strips can be enhanced with accessories such as magnetic strips or clip-on baskets to hold small items. For larger gaps, a combination of caulking for a water-tight seal and a custom filler strip can create a built-in storage area for easy access to frequently used products.
Incorporating storage into the bathroom design can turn the space between the vanity and wall into a functional part of the bathroom, improving both its look and organization.


