You can apply caulk over grout in the bathroom to prevent water damage and improve appearance.
Before starting, clean the grout lines for the caulk to stick properly.
Choose a caulk that matches the grout's color and type.
Use a caulk gun for a neat and effective application.
This guide will cover the steps, tips, and maintenance for caulking over grout.
Understanding Grout and Caulk
In bathroom repairs, it's important to know the difference between grout and caulk. Grout is a hard filler for tile joints, made of cement, water, and sand. It's used to prevent water from getting in and to keep the tile structure stable. However, grout can crack over time and lose its effectiveness.
Silicone caulk is often used for repairs because it sticks to many surfaces, including dry grout. It's durable and can adjust to the building's movement, making it good for fixing small cracks and gaps near grout lines.
Before applying new caulk, the area must be prepped properly. This means removing any old caulk that's peeling or damaged, as well as any loose or broken grout. After the area is ready, new grout is applied and sealed before adding new caulk.
Regular checks and maintenance, and using caulk that resists mildew, help both grout and caulk last longer in bathrooms.
The Risks of Caulking Over Grout
Applying caulk over grout is not recommended as it can lead to issues. Caulk may not stick well to sanded grout, failing to create a waterproof seal. Damaged grout should be repaired rather than covered with caulk for a lasting solution. Existing mold and mildew must be removed prior to caulking to avoid adhesion problems.
Trapped moisture beneath caulk can lead to mold and mildew, posing health risks and potentially damaging your bathroom structure. Over time, caulk can peel, allowing water to seep underneath tiles.
In short, caulking over grout is a temporary fix that can cause further problems. It is important to properly repair damaged grout and remove any mold or mildew before applying new caulk for a long-lasting and clean bathroom surface.
Proper Caulk Application Techniques
To apply caulk correctly, begin by cleaning the surface to remove dirt, soap residue, and any loose grout. A clean surface ensures the caulk adheres properly. Scratch the grout slightly to enhance the bond with the new caulk.
For caulking around a bathtub or sink, fill the tub with water to prevent the caulk from stretching or tearing under use. Use acrylic latex or water-based silicone caulk for flexibility and easy application.
Cut the tip of the caulk tube at a 25-degree angle for better water runoff. Apply the caulk in a continuous motion and use a smoothing tool or a damp finger to even out the caulk in the seam. This technique ensures a watertight seal and a clean appearance.
Repairing Grout Before Caulking
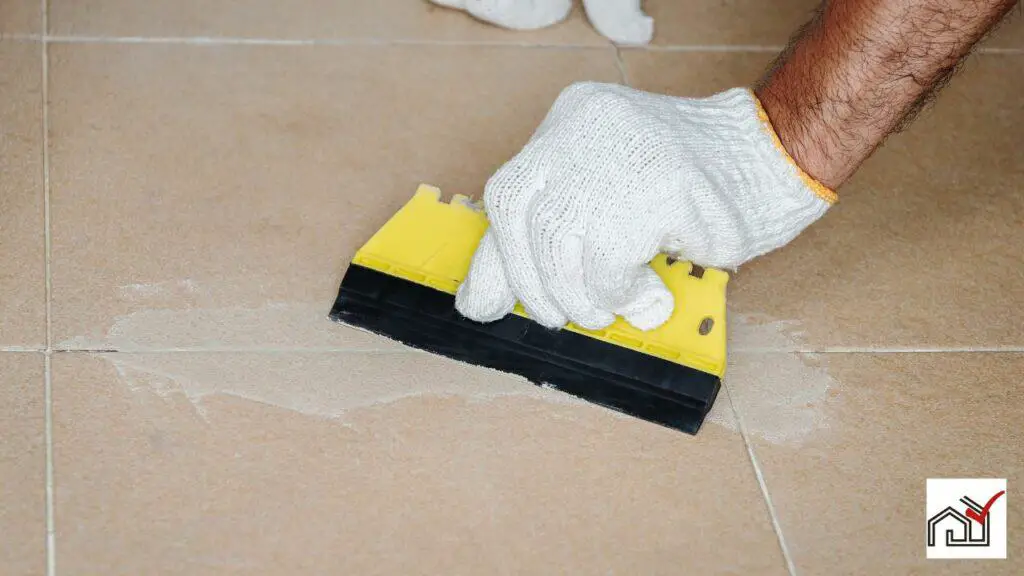
Before caulking a bathroom, repair any damaged or moldy grout. Start by inspecting the grout. If it's damaged or moldy, remove it with a grout saw or removal tool, taking care not to damage the tiles. Clean the area thoroughly to remove debris and dust, ensuring new grout adheres well.
Mix the new grout to the correct consistency, apply it, and then remove any excess to avoid interfering with caulking. Allow the grout to cure before applying a sealer, which will create a better surface for caulking and help prevent water damage.
Maintaining Caulk and Grout Long-Term
Maintaining the condition of caulk and grout in bathrooms is essential to avoid water damage and mold. Regular inspections should be carried out to fix any cracks in caulk or issues with grout immediately.
Grout haze, a filmy residue on tiles, can be cleaned with a diluted vinegar solution. However, use this sparingly to avoid altering the grout's color. Apply the solution gently with a sponge and rinse well.
For caulk maintenance, choose mold-resistant products and ensure caulk lines are angled over 25 degrees to prevent water retention. Promptly repair any damage to maintain effectiveness. Clean regularly with gentle cleaners to maintain the seal and prevent build-up.


